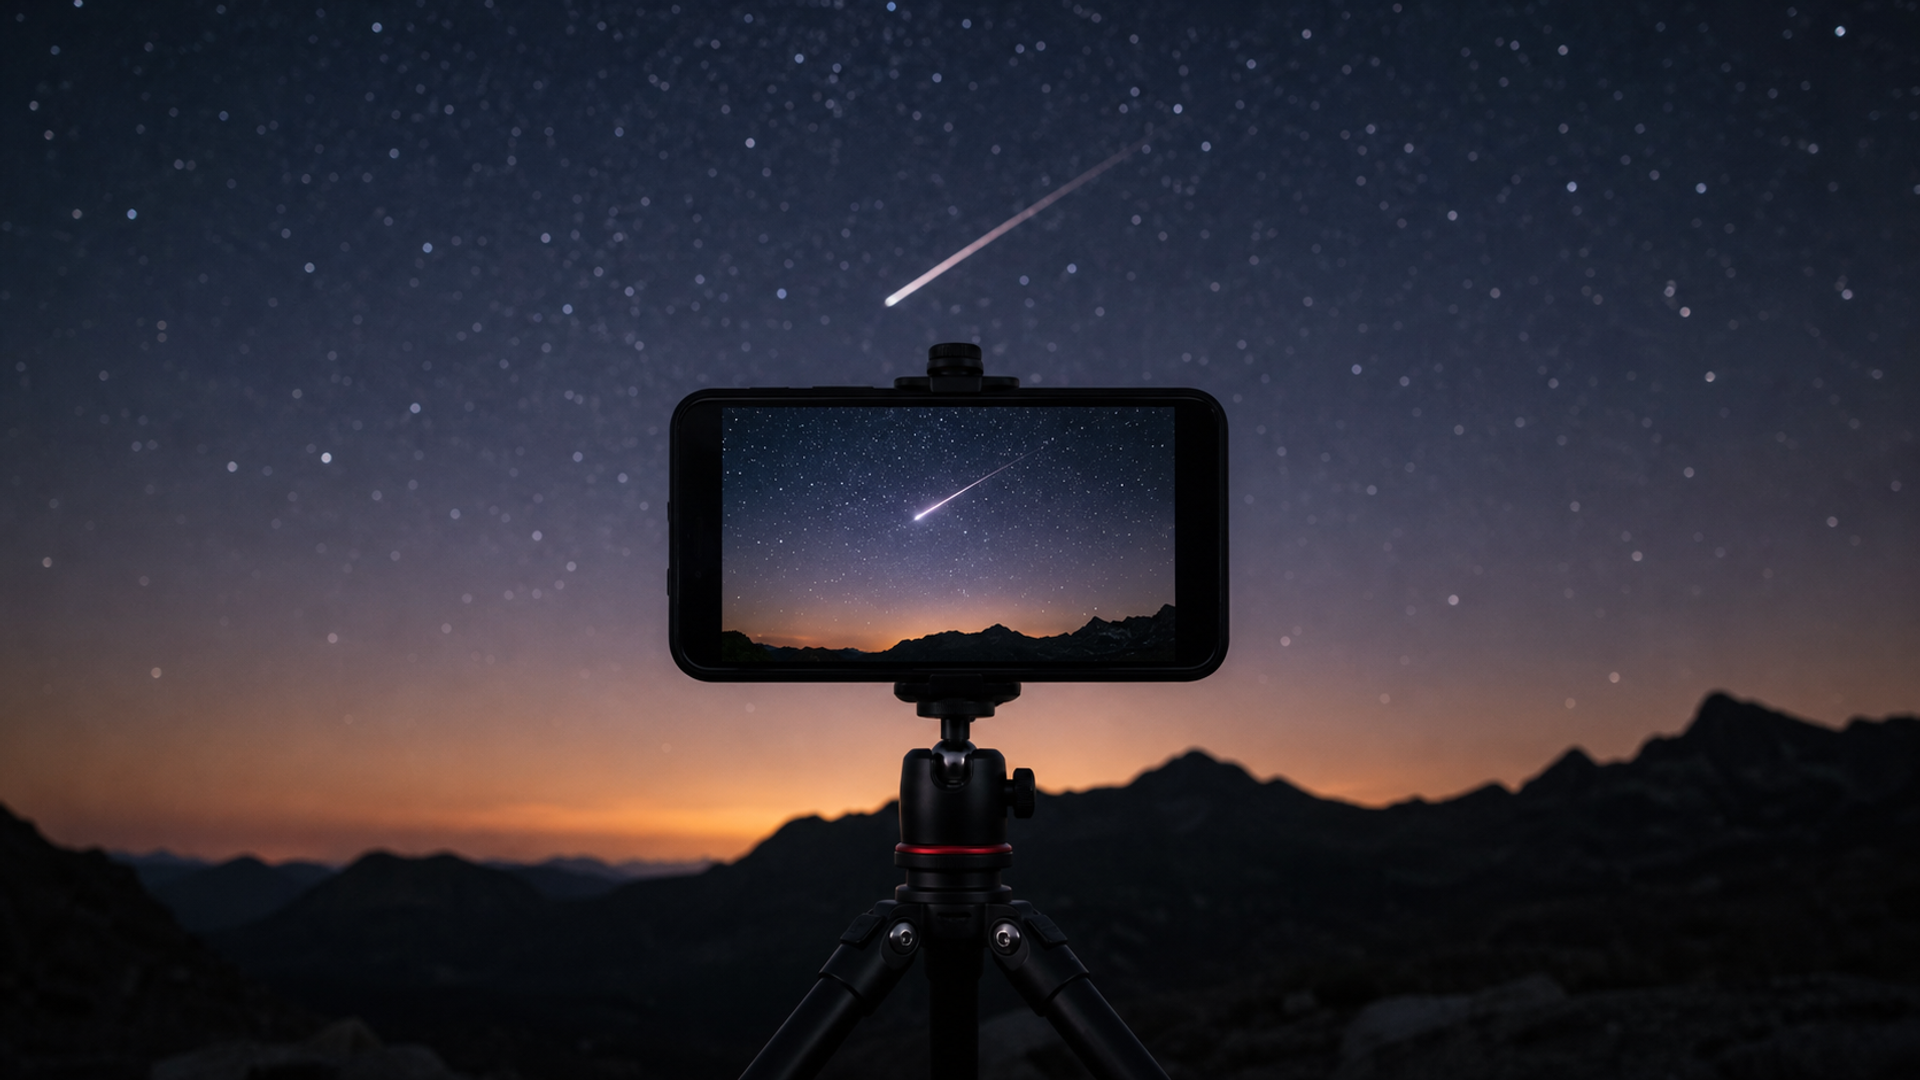
A modern phone can photograph a bright Perseid meteor, but only if you stop treating the shot like an ordinary point-and-shoot picture. Meteors are brief, unpredictable and much fainter to a camera than a city skyline. The reliable method is to stabilise the phone, use the main camera, focus at infinity, expose repeatedly and frame enough sky for chance to work in your favour.
The best starting setup is a tripod, a 10–20 second exposure, the widest usable aperture, ISO between roughly 800 and 1600, manual focus at infinity and a two-second shutter delay. If your phone does not offer manual controls, use its astrophotography or night mode while it is completely still. Then run repeated exposures for at least 30 minutes.
This guide owns the camera technique. For the peak date, moon conditions and regional viewing windows, use our Perseids 2026 viewing guide.
The phone setup that gives you a real chance
| Control | Starting point | Adjust when |
|---|---|---|
| Lens | Main 1x camera | Use ultra-wide only when it remains sharp and reasonably bright at night |
| Support | Tripod or rigid clamp | Never hand-hold a multi-second exposure |
| Focus | Manual infinity, then verify on a bright star | Pull back slightly from the hard infinity stop if stars look soft |
| Shutter | 10–20 seconds | Shorten if stars trail; lengthen only if the phone stays clean and stable |
| ISO | 800–1600 | Lower for bright skies; raise cautiously if the sky is very dark |
| Aperture | Widest available | Most phones fix aperture automatically |
| File | RAW plus JPEG/HEIF if available | RAW gives more latitude, but the processed file may stack frames better |
| White balance | 3500–4500K | Set by eye so the sky is neutral rather than orange |
| Capture | Interval or repeated timer | Continue for 30–90 minutes to increase the probability of a meteor |
| Screen | Lowest brightness, red filter if possible | Preserve night vision and avoid illuminating other observers |
These are starting values, not universal prescriptions. Phone cameras differ in sensor size, computational processing and manual-control limits. A clean, dark 10-second frame is more valuable than a noisy 30-second frame that contains star trails.
Choose the main camera before the widest camera
The ultra-wide lens seems attractive because it covers more sky, but coverage is only one part of the probability equation. Ultra-wide cameras often have smaller sensors, darker lenses and weaker edge quality than the phone’s main camera. A meteor near the edge of an ultra-wide frame may be present but too faint or smeared to be useful.
Start with the main 1x camera unless you already know the ultra-wide module performs well at night. Point it approximately 45–60 degrees above the horizon and away from direct lights. Include a small amount of landscape—a ridge, tree line, observatory or distant building—to give the photograph scale. Do not fill half the frame with a black foreground, because the sky is where the event happens.
Avoid digital zoom. It crops the sensor, narrows the field and reduces the number of possible meteor paths. A telephoto lens can produce a dramatic bright trail, but the chance of catching one is much lower. Telephoto is an advanced second camera, not the first setup.
Stabilise everything
Even excellent night processing cannot rescue a phone that moves during exposure. Use a solid tripod with a clamp that does not cover the lens or press the side buttons. Extend the thickest leg sections first and keep the centre column low. On soft ground, press the legs into the surface before framing.
Wind is a common hidden failure. A light travel tripod can vibrate even when it does not appear to move. Hang a small bag from the centre only if it will not swing. Shelter the tripod behind a vehicle or wall without blocking the sky. Turn off optical stabilisation only if the camera app or device specifically recommends doing so on a tripod; many phones manage stabilisation automatically.
Use a two-second timer, remote shutter or intervalometer so touching the screen does not shake the first frame. Remove thick lens protectors if they create reflections around bright stars, and clean the camera glass with a proper cloth. Fingerprints turn points of light into fog.
Focus on a star, not on the landscape
Autofocus often hunts in darkness and may settle on the foreground, leaving the stars soft. If the camera app provides manual focus, select infinity and magnify a bright star. Adjust until the star is the smallest, sharpest point possible. The printed infinity endpoint is not always the sharpest position, especially when temperature changes.
If manual focus is unavailable, aim temporarily at a distant light or bright star, press and hold to lock focus, then reframe. Check a test exposure at full magnification. A star should look like a compact point, not a disc or short comma.
Do not refocus after every image. Locking focus is essential for a long sequence. Also disable face detection and flash. The flash cannot illuminate a meteor and will only damage dark adaptation.
Set exposure without turning the sky grey
The phone’s preview is deceptive in darkness. A frame that looks impressive on a bright screen may be overexposed, with an orange-grey sky and no contrast for a meteor. Take a test image, lower screen brightness and inspect the histogram if the app offers one.
The sky should be dark but not clipped completely to black. Stars should be visible without forming large blobs. In a dark rural location, begin around 15 seconds at ISO 800 or 1600. Near a town, try 5–10 seconds at ISO 400–800. If stars become short lines, shorten the exposure. Phone computational modes may choose their own timing; in that case, let the phone finish its stack before moving it.
Longer is not automatically better. A meteor crossing a 20-second frame exists for only a fraction of that time, while background glow accumulates for the whole exposure. Excessive exposure can bury the trail. Repetition matters more than forcing one extremely long frame.
Manual mode, night mode or astrophotography mode?
| Mode | Best for | Main strength | Main limitation |
|---|---|---|---|
| Manual or Pro mode | Phones with real shutter, ISO and focus control | Repeatable settings and predictable files | May not use the phone’s strongest computational stacking |
| Night mode | Casual users and moderate light pollution | Easy multi-frame noise reduction | Timing and processing can vary between frames |
| Astrophotography mode | Supported phones on a tripod under dark skies | Long stacking designed for stars | A meteor may appear in only one sub-frame and be reduced by stacking |
| Third-party interval app | Long unattended sequences | Maximises the number of attempts | App quality, privacy and battery behaviour vary |
| Video | Very bright fireballs | Continuous coverage | Ordinary video exposure is usually too dark for faint meteors |
If your phone has a dedicated astrophotography mode, test it alongside a manual sequence. Computational stacking is excellent for static stars, but some algorithms treat a transient meteor as noise and suppress it. The processed result may therefore show fewer meteors than an individual source frame. Keep original or RAW files where the app permits.
Use interval capture to solve the timing problem
You cannot predict the second a meteor will cross your composition. The solution is statistical: make many clean exposures with as little dead time as possible.
Answer 60-minute session using 15-second exposures with five seconds of processing between frames can produce around 180 attempts. One heroic exposure gives you one attempt. Set an interval app, a Bluetooth shutter with a reliable repeat function or the camera’s built-in time-lapse/interval feature. Confirm that it records full-resolution stills rather than a compressed time-lapse video.
Watch the first five frames. Verify focus, horizon, battery and condensation. Then leave the phone untouched. Do not keep turning on the display to check every image. The screen consumes power, adds light and encourages accidental movement.
Plan storage before departure. RAW sequences can consume several gigabytes. Put the phone in aeroplane mode if you do not need connectivity, but preserve an emergency communication route and downloaded maps. A small power bank can help, although cold conditions reduce battery capacity and a dangling cable can shake the tripod.
Where to point the camera
Perseid meteors appear to radiate from Perseus, but you do not need to point directly at the constellation. Trails near the radiant look shorter. Longer, more dramatic trails often appear farther away.
Choose the darkest broad section of sky around 40–70 degrees from the radiant, keep the horizon level and avoid the Moon or nearby lamps. In the Northern Hemisphere, a north-east to overhead composition can work after midnight, but local terrain and light pollution should decide the final direction.
Make two compositions if you have two devices: one main-camera frame with a strong foreground and one ultra-wide safety frame covering more sky. Do not create two nearly identical views. Each camera should solve a different probability or storytelling problem.
A composition that works in a feed
The most useful meteor photograph is not necessarily the one with the most stars. It needs a clear subject at phone-screen size. A single bright meteor above a recognisable landscape often reads better than a dense star field with several tiny streaks.
Place the horizon in the lower quarter or third. Leave open sky in the direction from which trails are likely to enter. Avoid trees cutting across the entire frame. If a tent, person or vehicle is included, keep artificial lighting low and constant; a moving torch creates distracting lines.
Do not composite meteors into positions where they did not occur while presenting the image as one exposure. Stacking multiple meteors from the same sequence can be legitimate editorial work if it is clearly labelled as a composite and the orientation and timing remain truthful.
Diagnose the five most common failures
The stars are sharp, but no meteor appears
Nothing may be wrong. Meteor photography is probabilistic. Continue longer, widen the field or move away from obstructions. Confirm that the shower is active and that cloud is not covering part of the frame.
The entire sky is orange or grey
Lower ISO or shorten the shutter time, then point away from the nearest light dome. Shield the lens from direct lamps. A darker location will improve the result more than aggressive editing.
Stars look like short lines
Shorten exposure, reduce tripod vibration and verify that image stabilisation is behaving correctly. At very wide focal lengths, 10–15 seconds is often safer than 30 seconds.
Stars are soft circles
Clean the lens and refocus manually. Condensation may be forming on the camera glass. Allow the device to acclimatise gradually and use a dry cloth; do not heat the lens aggressively.
The meteor is faint after processing
Inspect the original file. Noise reduction or stacking may have suppressed it. Apply local contrast carefully, reduce highlights and avoid turning the sky into a crunchy, oversharpened texture.
Edit for evidence, not spectacle
Begin with white balance and exposure. Set a neutral sky, recover highlights and add modest contrast. Use noise reduction only until colour speckles stop distracting from the trail. Excessive clarity creates halos around stars.
If the meteor is in a RAW frame, mask it locally and increase exposure or contrast slightly. Preserve the original trajectory and brightness relationship. Remove hot pixels and aircraft only when your editorial policy allows it, and disclose significant compositing.
Distinguish meteors from satellites and aircraft. Aircraft often blink or create dashed lines. Satellites usually form smooth, relatively constant trails across multiple frames. Meteors tend to taper, change brightness quickly and appear in a single exposure. A sequence is therefore valuable evidence, not merely extra content.
The ten-minute field checklist
Clean the lens and secure the phone in a rigid clamp.
Choose the main 1x camera and disable flash.
Frame a dark, wide sky with a small foreground.
Focus manually on a bright star and lock focus.
Test 10–20 seconds at ISO 800–1600.
Magnify the test frame to check star sharpness.
Reduce exposure if the sky is grey or stars trail.
Start repeated still capture with minimal delay.
Dim the screen and leave the tripod untouched.
Check focus, condensation, battery and framing every 20–30 minutes.
NASA’s meteor-observation guidance explains why a wide, dark sky is more useful than a telescope. Pair that science with a disciplined capture sequence and the phone becomes a credible meteor camera rather than a lucky snapshot device.
The most important upgrade is not a new handset. It is more clean attempts from a stable position under a darker sky. If you can control focus, exposure and repetition, you have solved the parts of the photograph that are actually under your control.