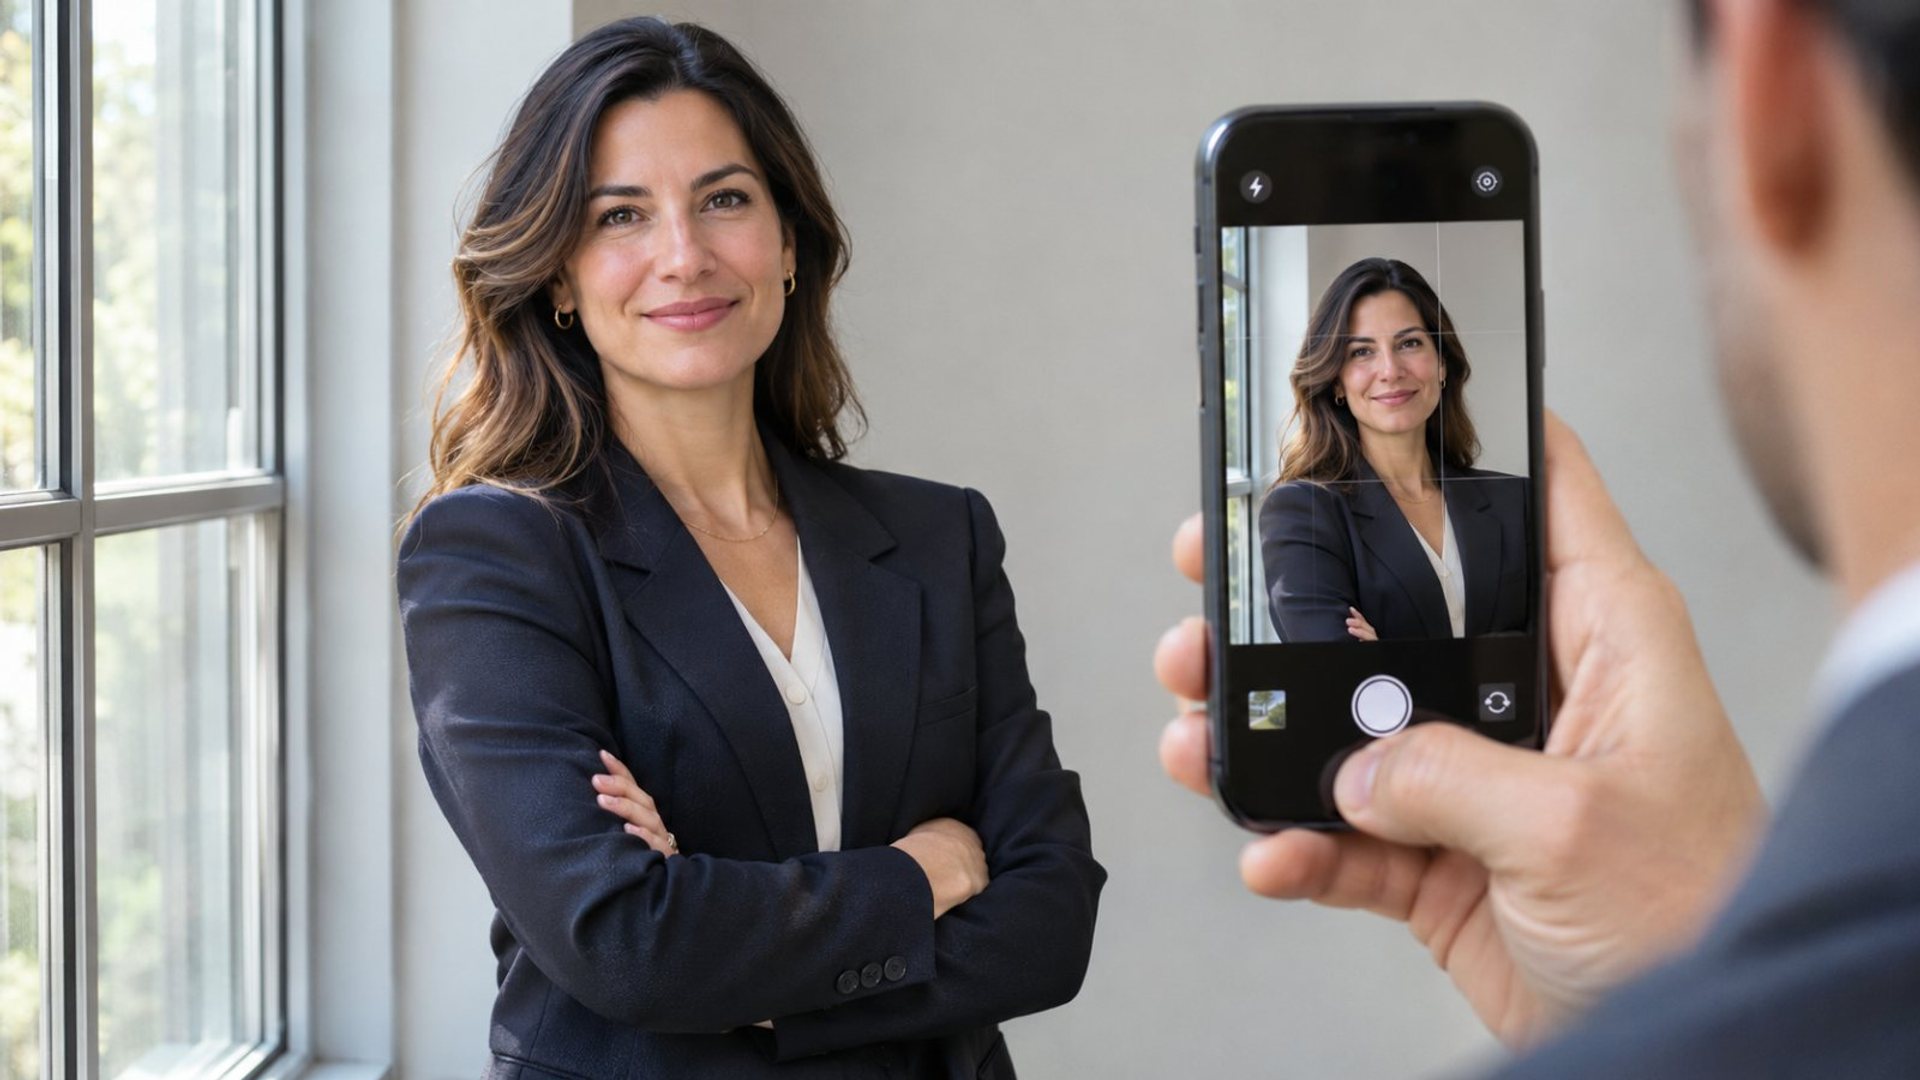
Portrait mode on a phone can make a credible executive headshot when the lighting, camera position and expression are right before background blur is added. Face a large window or other soft light, place the camera near eye level, stand away from a simple background and keep the face sharp. Use a modest blur setting and inspect hair, glasses and clothing edges before sharing. If the effect looks artificial, a well-lit standard photo is often stronger.
What makes a headshot look professional?
A good executive portrait lets someone recognise you quickly. It shows a current likeness, clear eyes, natural skin tone and attire appropriate to the intended context. A blurred backdrop can separate the subject, but it cannot rescue harsh light or a camera held too close to the face. Decide where the image will appear: a small company-directory circle needs a tight, uncluttered crop, while a speaker biography may allow more shoulder and background.
Choose clothing with clean lines and a colour that contrasts gently with the background. Avoid a pattern that draws attention away from the face. Check collar, hair and glasses before taking the photo. A lint roller or quick adjustment can save more editing than a filter. If the portrait is for a corporate team, agree on a consistent crop and background style so the images feel related.
Have another person hold the phone or place it on a stable stand with a timer. A selfie at arm's length can exaggerate facial proportions because the camera is close. If using the rear camera, ask the helper to check focus and framing. Take several images with small changes in posture and expression; one relaxed frame is more useful than a single technically perfect but tense shot.
Where should the light come from?
Soft, broad light is the easiest starting point. Stand facing a window with the phone between you and the window, but not blocking the light. An overcast day or sheer curtain can reduce harsh shadows. Avoid placing a bright window directly behind the subject unless you intentionally compensate for the face. Turn off mixed-colour room lights if they give the skin a green or orange cast.
Watch the eyes and nose. Deep shadows under the eyes, a bright strip across the face or glare in glasses may be more visible in the final small crop than in the camera preview. Move a little sideways or rotate the subject, rather than applying an extreme exposure correction. A plain light wall can reflect some light onto the shadow side of the face. Keep lighting natural enough that colleagues will recognise the person.
If shooting outdoors, open shade is usually easier than direct midday sun. Stand under a covered area facing a brighter open space, and avoid a busy background. Wind can disrupt hair and clothing, so check each frame. The right setting is one you can control for a few minutes, not the most scenic location.
How far should the phone be from the face?
Give the camera enough distance to avoid wide-angle distortion, then crop or use a supported portrait focal length. The exact working distance depends on the phone's lenses and app. Keep the camera around eye level and roughly parallel to the face. A low angle can make the jaw and ceiling dominant; a high angle can feel like a casual selfie. Use the on-screen guide or grid to keep vertical lines upright.
Frame from roughly mid-chest or shoulders upward, leaving enough room above the head for later cropping. Keep both eyes visible and the face near the center. If the final platform uses a circular crop, leave space around hair and shoulders. Test the image at the size it will actually appear. A dramatic wide composition may look good full screen but fail as a small avatar.
Ask the subject to angle shoulders slightly while keeping the face toward the camera. A natural expression is easier after a short conversation than after a rigid countdown. Take a few frames while the subject exhales and relaxes the jaw. Avoid asking for a performance that feels unlike their normal professional presence.
How should I use portrait mode?
Open the camera app and select Portrait or a similar mode if available on your exact phone. Follow its on-screen distance and light prompts. Tap on the eye nearest the camera or the face, then check that the face remains sharp. Move the subject away from the background; this gives the software clearer separation and often looks more natural than maximum blur. Take a standard photo at the same time as a fallback.
Apple's Portrait capture guide explains its supported iPhone mode, while its editing guide describes adjusting depth of field and lighting afterwards. Those controls are iPhone-specific. Other phones may label or implement portrait effects differently. Check your camera's current options rather than assuming the same slider exists.
Use restrained blur. If the software erases strands of hair, softens an ear, cuts through eyeglass frames or blurs a lapel, reduce the effect or use the standard capture. Zoom in to inspect the edge of the subject, especially where hair overlaps the background. A headshot with a clean, natural background is preferable to a conspicuous artificial outline.
What should I edit after the shoot?
Select the sharpest natural frame first. Straighten and crop it for the destination. Adjust exposure and colour gently so the face resembles the person in real life. Reduce strong highlights and lift deep shadows only enough to see the eyes. Avoid smoothing skin to the point that texture disappears or altering features. A professional headshot should remain an honest representation.
Check the portrait on another screen before publishing. A phone display can hide an overly warm white balance or excessive sharpening. View it both full size and as a small avatar. If the platform crops to a circle, make sure it does not cut off hair or shoulders unexpectedly. Keep a high-resolution original and export a separate version for the site rather than repeatedly saving over the source.
Use a descriptive filename and keep the subject's approval for public use. For a team directory, confirm the preferred name, role and intended channels. If the image is going to external media, ask about background and crop requirements before the session. A little planning avoids retaking a good portrait that does not fit the outlet.
Can I use a VERTU Metavertu Max?
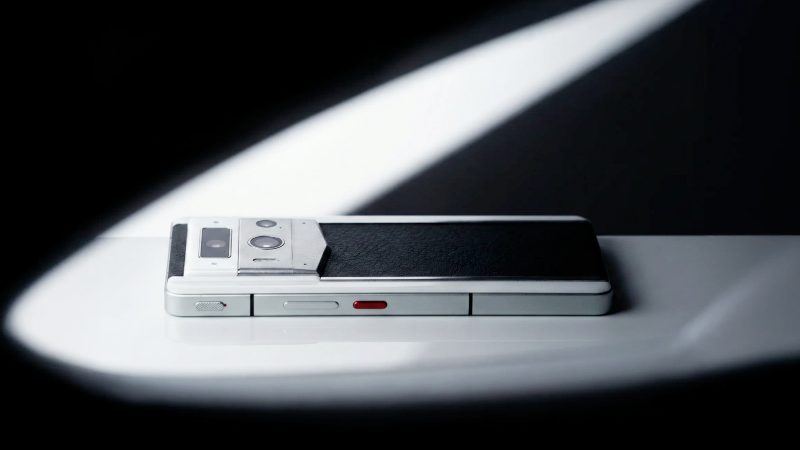
The VERTU knowledge base confirms the Metavertu Max product family, but the reviewed entry does not establish a particular portrait-mode control or depth-editing feature. Check the camera app on the exact model and software version you own. The lighting, distance and edge-review method works whether the camera offers portrait blur or only a standard photo mode.
For an executive who travels with one phone, repeatability is valuable. Save a simple setup note: where the window was, approximate camera height, background and preferred crop. A colleague can then help refresh the image later without re-inventing the session. See the VERTU guides collection for related phone photography and file-management topics.
What is the fastest reliable workflow?
Find soft light and a plain background, set the phone at eye height, create distance, take both portrait and standard frames, then inspect the eyes and subject edges. Choose the natural image, crop for the destination and obtain approval before posting. The result should look like the person on a good day at work, not like a camera effect demonstration.
Frequently asked questions
Should I use the front or rear camera?
Use whichever gives a sharp, well-framed result. A rear camera with a helper or stand often makes distance and framing easier.
Why are my hair and glasses blurred?
Portrait software may misidentify fine edges. Reduce blur, change the background or use a standard photo.
Does Metavertu Max have the same controls as iPhone?
Do not assume so. Check the exact model's camera app and current instructions before relying on a specific portrait tool.