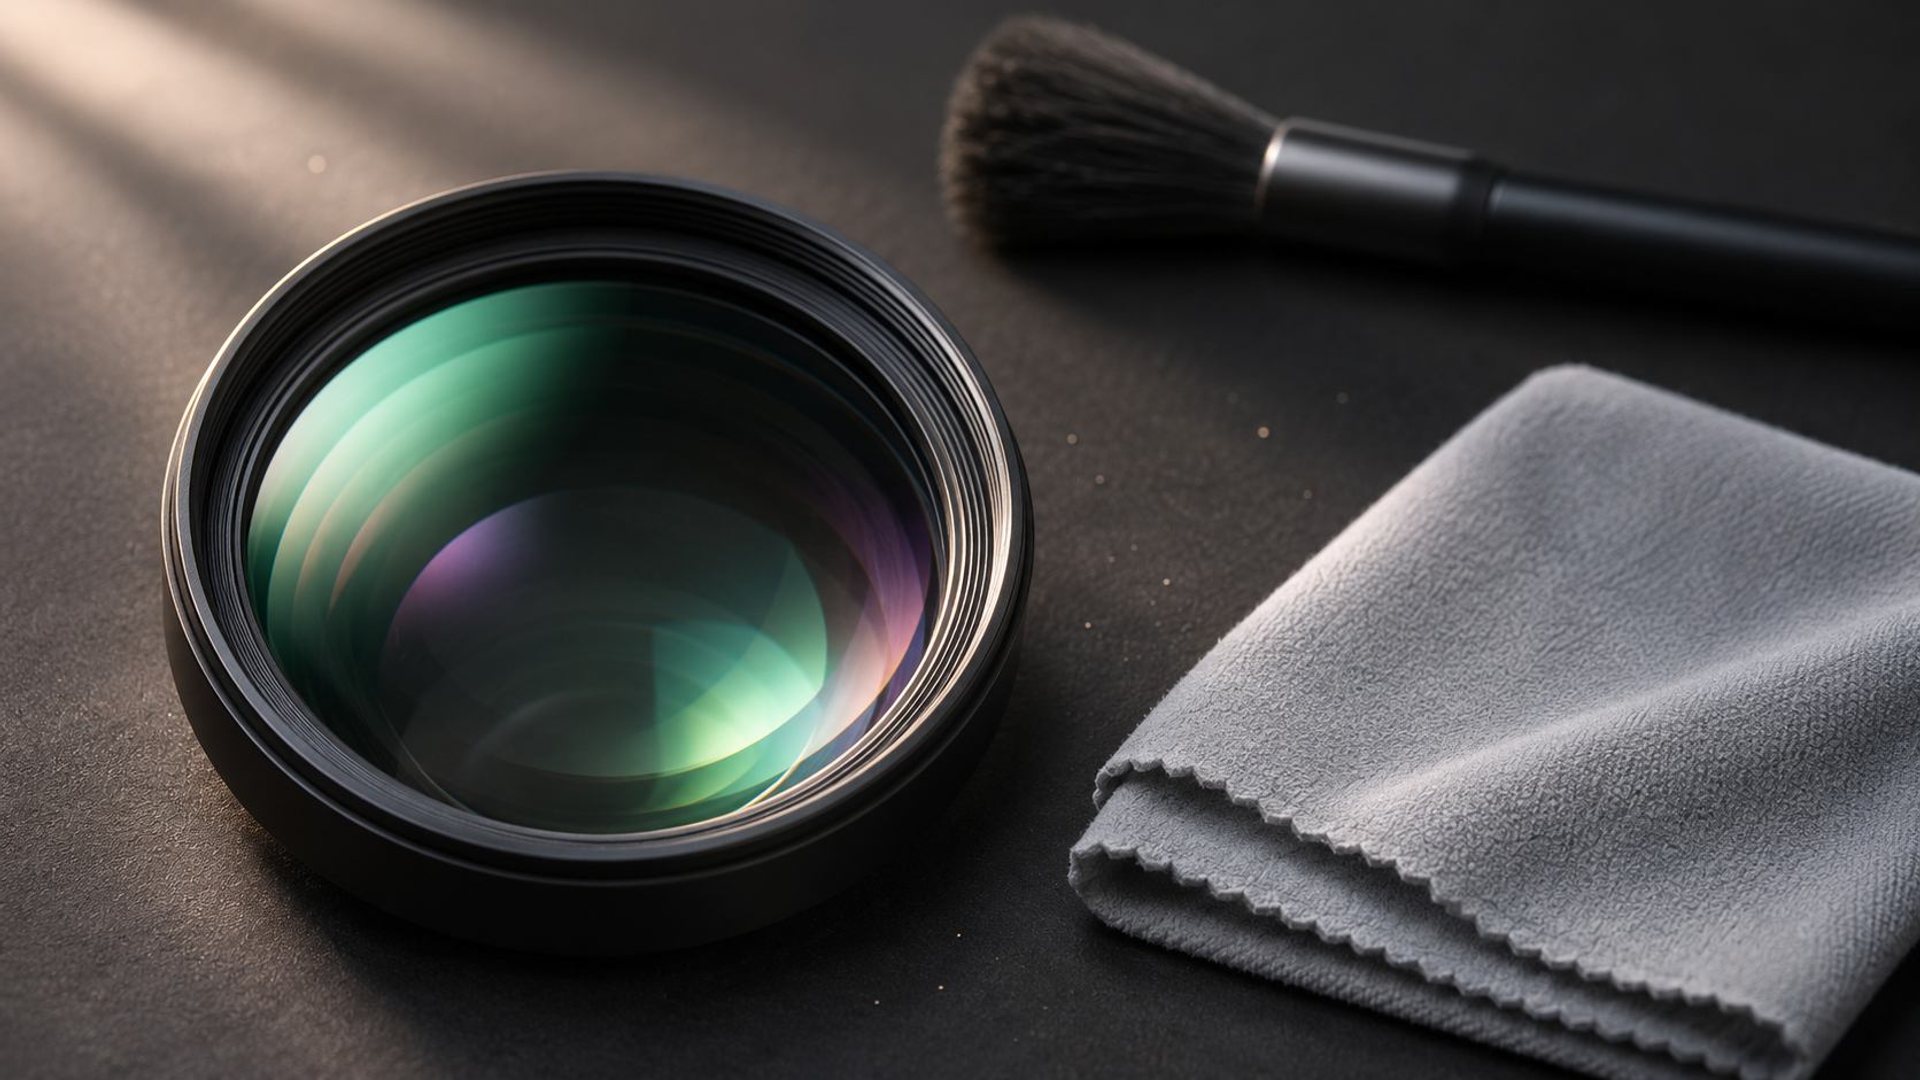
To learn how to clean phone camera lens glass safely, start with a clean, soft microfiber cloth and the lightest effective pressure. Remove loose grit before wiping a fingerprint, then inspect the lens in good light and take a test photo. Keep liquid and cleaning spray off the camera module unless the exact phone maker gives a compatible method. If haze remains behind the glass, or the cover is cracked, stop cleaning and seek service instead of rubbing harder.
Key Takeaways
- Use a clean microfiber or lens cloth; a dirty cloth can drag grit across the cover glass.
- Lift loose dust gently before wiping oily smudges, with minimal pressure.
- Do not spray cleaner on the camera module or use abrasive paper and household chemicals.
- Check cases and lens protectors, which can cause flare or blur even when the lens is clean.
- Persistent fog inside the glass, cracks or one faulty camera may require professional service.
What materials are safe for a phone camera lens?
A soft, clean, lint-free microfiber cloth is the dependable first choice. Samsung's camera troubleshooting guidance recommends a soft, dry microfiber cloth for fingerprints, smudges and dust; Google's Pixel camera help recommends a soft, clean, lint-free cloth. Keep one cloth reserved for optics rather than using the same one that wipes a dusty bag or desktop. Inspect it for sand, metal particles and dried residue. A cloth can be labeled “microfiber” and still be a poor choice if it is dirty or stiff.
Choose a dry method first because camera modules contain seams and nearby openings. Samsung's current troubleshooting page warns against liquids or cleaning solutions on the camera lens, as they may damage the area or enter the device. Another manufacturer may permit a slightly damp cloth for the broader exterior, but that does not authorize spraying liquid directly on every lens. Follow instructions for your exact model and finish. Do not substitute kitchen paper, clothing, toothpaste, metal polish or a rough brush because they can introduce scratches or residues.
How do you remove dust from a phone camera lens before wiping a smudge?
Look at the camera in angled light. If you see grains of sand or other hard particles, do not press them across the surface. Hold the phone so loose particles can fall away, and use the clean cloth's edge with very light contact to lift what remains. Avoid compressed air: it can force dust or moisture into gaps, and broad phone-cleaning guidance from Apple warns against its use. If grit is caught under the rim of a raised camera surround, do not pry it out with a pin. A sharp tool can damage the protective glass or seal.
After loose dust is removed, fold the microfiber cloth to expose a fresh section and make a gentle pass over the cover glass. One or two controlled wipes are preferable to vigorous polishing. Inspect the glass again. If a spot does not move, determine whether it is outside the cover, beneath a removable protector, or within the module. Continuing to rub an internal mark cannot help. This simple visual check prevents an everyday fingerprint from turning into an avoidable abrasion problem.
How do you clean oily fingerprints?
- Turn off the camera app and place the phone on a stable, clean surface.
- Remove any case edge that blocks safe access to the lens.
- Check the cloth and lens for grit.
- Wipe gently with a clean, dry microfiber section, using small controlled movements.
- Inspect in angled light and repeat once with a fresh part of the cloth if needed.
- Take a photograph of a well-lit, detailed scene to confirm the result.
Fingerprints often cause a soft veil, bright halos or flare around lights. They can be hard to see head-on, so rotate the phone under a lamp before deciding the lens is clear. Resist the instinct to breathe heavily on the glass: condensation can spread residue and reach the surrounding seams. If the maker explicitly permits a damp method for your exact phone, apply it to the cloth, never directly to the module, and keep moisture away from openings. If you cannot confirm the instruction, stay with a dry clean cloth.
What should you never use?
Do not use abrasive powders, paper towels, gritty clothing or sharp implements. Avoid spraying window cleaner, perfume, hand sanitizer or solvent onto the camera housing. Even a product sold for household glass may not be appropriate for a phone's coatings, adhesives or trim. Strong pressure is also unnecessary: a camera cover is not improved by polishing it like a metal utensil. Stop if the cloth catches on a chip or cracked edge, because the glass may be damaged and further wiping could dislodge fragments.
Be wary of generic social-media fixes for blurry images, especially rubbing alcohol, toothpaste and improvised compressed-air cleaning. A chemical may leave a film or affect a coating, while an abrasive may create permanent scatter that looks like persistent haze in photos. Manufacturer guidance takes priority over a universal cleaning recipe. If a spill leaves sticky material that a dry cloth cannot remove, consult the phone maker's support instructions or authorized service rather than increasing the force.
How can you tell if the case or protector is the problem?
Remove a camera lens protector, accessory or case that overlaps the optical area, if it can be safely removed, and take the same test shot again. Google Pixel camera guidance specifically recommends checking protective gear when blur, halos, lines or color distortion occur. A protector can be clean but still introduce glare from an extra glass-air surface, poor alignment or a damaged adhesive edge. Some cases cast shadows into a wide-angle lens or reflect flash light back into the camera.
Compare with and without the accessory in the same lighting and with the same camera mode. Use a textured subject such as a page of print at a reasonable distance, then photograph a bright light source from a safe angle to see whether flare changes. Do not point a phone camera directly at an intense light source for a prolonged test. If the image improves after removing the accessory, replace or reposition that accessory according to its maker's guidance. There may be no need to repair the phone itself.
When is the problem not surface dirt?
Persistent blur can result from incorrect focus, motion, a damaged protector, a scratched cover, condensation inside the module or a camera app issue. Google's Pixel troubleshooting sequence begins with cleaning but then asks users to inspect for physical damage and other causes. Try tapping the subject to focus, using a stable hand and testing another camera lens if the phone has several. If one lens alone remains hazy after safe cleaning, photograph the problem for a service request.
Fog that appears beneath the cover cannot be wiped from outside. Do not heat the phone aggressively with a hair dryer or put it in rice; those actions do not inspect the seal and may worsen damage. Cracked glass, visible internal moisture or a rattling part after an impact warrants support. Back up important data before service if the phone remains operational. If it is used for business or confidential imaging, ask about the service provider's handling of device data.
How do you test whether cleaning worked?
| What you see | Useful next check |
|---|---|
| Hazy scene across all bright areas | Inspect for fingerprints and clean the cover glass |
| Halos mainly near light sources | Check oil film, case edge and lens protector |
| One camera remains blurry | Compare other lenses and inspect for damage |
| Blur only in low light | Stabilize the phone and check focus or exposure |
| Visible mark under glass | Stop surface cleaning and seek service advice |
Use the same subject and light before and after cleaning. Otherwise, a change in scene can make a successful wipe look ineffective. View the image at normal size and zoom in moderately to compare detail. Avoid claiming a numerical improvement without a controlled measurement. The goal is a practical yes-or-no decision: has the surface haze disappeared, and can the camera focus as expected? If not, move to accessory, software and service checks instead of repeating the wipe endlessly.
Does the advice change for a VERTU phone?
VERTU smartphones use distinctive materials and camera housings across models, so treat the exact owner's instructions as the primary care reference. This article does not assume that an Agent Q, ALPHAFOLD or another model has the same coating, water resistance or service procedure. The general safe first step—clean, dry, lint-free microfiber with light pressure—is consistent with major phone makers' camera guidance, but do not apply a chemical or liquid to a VERTU finish without model-specific authorization. Check the camera surround and case fit before touching the optical glass.
If the device has leather, decorative metal or other premium trim near the camera, protect those surfaces from cleaning fluid. A lens protector or accessory may also affect imaging; remove it only if the manufacturer says removal is safe. VERTU's official support channel can advise on cracks, internal haze or replacement parts for the exact model. A premium camera can still be obscured by an ordinary fingerprint, and cleaning the accessible glass is the simplest diagnostic step before pursuing software or hardware repair.
Samsung’s camera troubleshooting guide recommends a soft, dry cloth or microfiber for dust and smudges, and warns against spraying cleaning liquid on the lens. Its device-care instructions also caution against excessive pressure. Clean only when a mark affects the view or is visibly present; there is no evidence-based universal daily cleaning count. As a cautious inspection workflow, make one light pass with a clean, dry microfiber cloth, inspect the lens in good light, and make one further light pass with a fresh part of the cloth only if a visible smudge remains. These one-to-two passes are an editorial check, not a manufacturer-stated cleaning interval or a durability test. If the mark remains, stop rubbing and investigate the protector, case or internal damage.
Frequently asked questions
Can I use my shirt to clean a phone camera?
A clean microfiber cloth is safer. Clothing may carry grit or fibers and can smear oil rather than lift it.
Should I spray lens cleaner on the phone?
No. Do not spray liquid onto a camera module. Follow the exact maker's guidance if a damp method is required, and apply any permitted moisture to the cloth instead.
Why are photos still blurry after cleaning?
Check the case, lens protector, focus, movement and possible damage. A mark behind the cover glass or a cracked module needs service advice, not more wiping.
Can a dirty lens cause light halos?
Yes. Oil and smudges can scatter bright light. Compare a test image before and after a gentle microfiber wipe, then check accessories if halos remain.
Conclusion
The safe answer to how to clean phone camera lens glass is simple: remove loose grit, wipe gently with clean microfiber, and test the image. Avoid sprays, abrasives and excessive pressure. If the lens is clear but the photograph is not, inspect the case and protector, test focus and other cameras, and contact support for visible damage or haze inside the module.