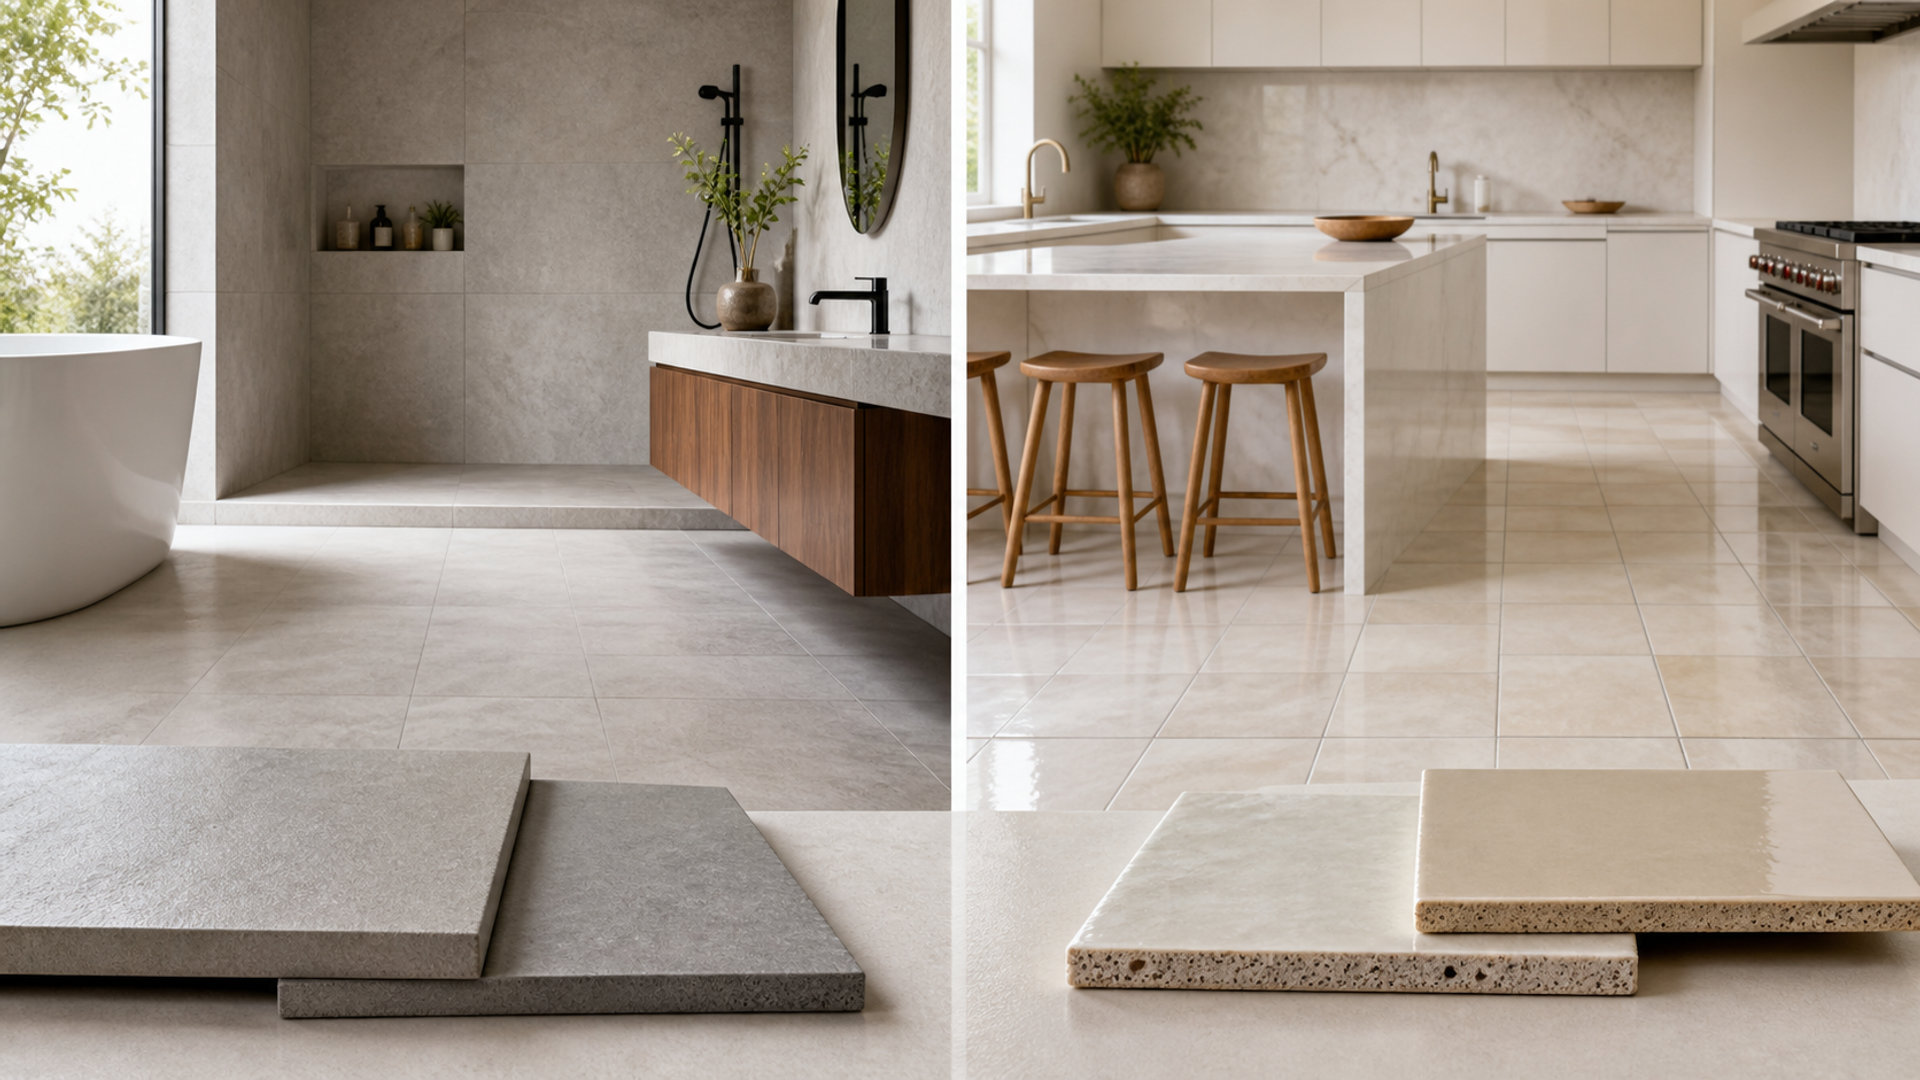
Porcelain is a type of ceramic tile defined by stricter water-absorption criteria, but that classification does not make every porcelain product safer, stronger or easier to install in every room. Surface texture, slip performance, tile size, body, glaze, substrate, membrane, mortar, grout and installer skill operate as one assembly.
Choose by room and exposure
Choose porcelain when the exact product's low absorption, wear rating and format suit wet, exterior or demanding traffic conditions. Choose another ceramic tile when its tested use classification, lighter cutting burden and design fit match a dry or controlled interior. Repair the present surface when failures are local and the substrate remains sound.
| Decision factor | Porcelain tile | Non-porcelain ceramic tile | Keep and repair the current surface |
|---|---|---|---|
| Water exposure | Certified absorption and assembly suit the wet zone | The exact ceramic is approved for the location | Repair waterproofing before changing tile |
| Slip risk | Surface rating and cleaning state suit bare feet | Texture and grout layout support the use | Change mats, drainage or layout first |
| Substrate | Flatness and movement control suit dense large tile | The substrate supports the selected format | Correct cracks and deflection first |
| Cutting | Tools and installer can cut dense porcelain cleanly | Simpler cuts reduce breakage and labour | Choose a more installable format |
| Traffic | Wear and impact data match the route | Rated ceramic handles the real interior traffic | Protect the existing sound surface |
| Repair | Spare calibrated pieces and grout are stored | Matching tile remains replaceable | Secure spares before retiling |
This porcelain vs ceramic tile matrix is the article's working value object. Read the porcelain vs ceramic tile rows together: the decisive failure mode depends on this topic's evidence, operating context and reader objective.
What absorption and body change
Evidence 1. The Tile Council of North America explains that porcelain tile is ceramic tile meeting a water-absorption threshold of 0.5 percent or less under the referenced test method.
Evidence 2. Water absorption alone does not establish slip resistance, glaze wear, frost suitability or the quality of the installed waterproof assembly.
Evidence 3. Large-format and dense tiles can demand tighter substrate flatness, suitable mortars and appropriate cutting tools.
Evidence 4. Installer qualification and adherence to current standards can matter as much as the tile body when preventing lippage, cracking and wet-area failure.
Reader-visible sources checked for this article:
tcnatile.com — reader-visible current or official evidence
ceramictilefoundation.org — reader-visible current or official evidence
For porcelain vs ceramic tile, these sources establish only the claims inside their documented scope. Recheck every changeable specification, availability condition, price, policy or service term in the relevant market before acting.
Test the complete tile assembly
A buyer can resolve water exposure without starting from a brand preference. Ask whether certified absorption and assembly suit the wet zone; compare that with whether the exact ceramic is approved for the location; then use repair waterproofing before changing tile as the third route's safeguard. An unknown condition stays unknown.
On slip risk, popularity is not enough. The evidence for option one is that surface rating and cleaning state suit bare feet. Option two means texture and grout layout support the use. Option three is rational where change mats, drainage or layout first. Recheck any changeable term immediately before commitment.
The decision changes at substrate. Choose the first path only if flatness and movement control suit dense large tile; move to the second when the substrate supports the selected format; use the third when correct cracks and deflection first. Save the downside that would make this row fail.
For cutting, the first route works when tools and installer can cut dense porcelain cleanly; the second requires simpler cuts reduce breakage and labour. The control for the third is choose a more installable format. Verify this row against the exact product, property, account or environment before it can reverse the decision.
The traffic row exposes a practical boundary. Route one assumes wear and impact data match the route, while route two is defensible only when rated ceramic handles the real interior traffic. Route three depends on protect the existing sound surface. If that evidence is absent, keep the more reversible option.
Read repair as a stop/go test: spare calibrated pieces and grout are stored supports the first option; matching tile remains replaceable supports the second; and secure spares before retiling supports the third. Record which source proves the condition and when it was checked.
Facts that would reverse the current choice
Reversal control 1 — Water exposure. Before choosing Porcelain tile, write down how the decision changes if “Certified absorption and assembly suit the wet zone” proves false. Do the same for Non-porcelain ceramic tile and “The exact ceramic is approved for the location”. Keep the Keep and repair the current surface route available until “Repair waterproofing before changing tile” is verified. This control belongs to porcelain vs ceramic tile; update it from the cited source or exact supplier rather than copying a generic checklist.
Reversal control 2 — Slip risk. Before choosing Porcelain tile, write down how the decision changes if “Surface rating and cleaning state suit bare feet” proves false. Do the same for Non-porcelain ceramic tile and “Texture and grout layout support the use”. Keep the Keep and repair the current surface route available until “Change mats, drainage or layout first” is verified. This control belongs to porcelain vs ceramic tile; update it from the cited source or exact supplier rather than copying a generic checklist.
Reversal control 3 — Substrate. Before choosing Porcelain tile, write down how the decision changes if “Flatness and movement control suit dense large tile” proves false. Do the same for Non-porcelain ceramic tile and “The substrate supports the selected format”. Keep the Keep and repair the current surface route available until “Correct cracks and deflection first” is verified. This control belongs to porcelain vs ceramic tile; update it from the cited source or exact supplier rather than copying a generic checklist.
Reversal control 4 — Cutting. Before choosing Porcelain tile, write down how the decision changes if “Tools and installer can cut dense porcelain cleanly” proves false. Do the same for Non-porcelain ceramic tile and “Simpler cuts reduce breakage and labour”. Keep the Keep and repair the current surface route available until “Choose a more installable format” is verified. This control belongs to porcelain vs ceramic tile; update it from the cited source or exact supplier rather than copying a generic checklist.
Reversal control 5 — Traffic. Before choosing Porcelain tile, write down how the decision changes if “Wear and impact data match the route” proves false. Do the same for Non-porcelain ceramic tile and “Rated ceramic handles the real interior traffic”. Keep the Keep and repair the current surface route available until “Protect the existing sound surface” is verified. This control belongs to porcelain vs ceramic tile; update it from the cited source or exact supplier rather than copying a generic checklist.
Reversal control 6 — Repair. Before choosing Porcelain tile, write down how the decision changes if “Spare calibrated pieces and grout are stored” proves false. Do the same for Non-porcelain ceramic tile and “Matching tile remains replaceable”. Keep the Keep and repair the current surface route available until “Secure spares before retiling” is verified. This control belongs to porcelain vs ceramic tile; update it from the cited source or exact supplier rather than copying a generic checklist.
Define the exposure class
Mark standing water, splash, exterior freeze, direct sun, wheeled loads, grit and barefoot routes. Obtain the exact technical sheet and verify approved floor, wall, wet-area or exterior use. Do not substitute a sample-board label for the product code that will actually be delivered.
Design the assembly
Inspect deflection, cracks, drainage slope, waterproofing, movement joints and transitions. Match mortar, trowel, back-buttering and grout to tile size and body. Photograph membranes and services before coverage so later repairs do not begin with destructive guesswork.
Run a cleaning and slip trial
Wet a full sample using the household's likely soaps, oils and cleaners, then assess grip in footwear and bare feet. Test whether texture traps soil and whether grout colour survives routine cleaning. A high-friction showroom sample can become slippery when residue accumulates.
Plan cuts and replacement
Lay out corners, niches, drains, thresholds and edge profiles before installation. Ask the installer to dry-plan difficult cuts. Store labelled spare tile and grout from the same production batch because nominal colour and calibre may differ when a damaged piece needs replacement years later.
Three spaces, three answers
Busy entrance connected to outdoors
Porcelain may offer a strong fit when the exact wear, slip and installation data support grit and moisture. Define the fact that would reverse this recommendation before committing.
Decorative dry powder room wall
A suitable non-porcelain ceramic tile can deliver colour and easier cutting without paying for irrelevant exposure performance. Define the fact that would reverse this recommendation before committing.
Cracked shower over a failed substrate
Changing tile body will not solve the assembly until movement and waterproofing are rebuilt correctly. Define the fact that would reverse this recommendation before committing.
Action checklist
Confirm product code.
Read absorption data.
Verify use classification.
Inspect substrate.
Design waterproofing.
Check movement joints.
Test wet grip.
Approve layout.
Hire qualified installation.
Store spare tile and grout.
Continue the decision
The linked VERTU articles expand adjacent parts of the porcelain vs ceramic tile decision. They do not substitute for the external evidence above.
The porcelain-ceramic verdict
Choose porcelain when the exact product's low absorption, wear rating and format suit wet, exterior or demanding traffic conditions. Choose another ceramic tile when its tested use classification, lighter cutting burden and design fit match a dry or controlled interior. Repair the present surface when failures are local and the substrate remains sound.
Keep the porcelain vs ceramic tile decision reversible until its material cost, safety, access, privacy and compatibility facts are verified. Unknown evidence stays unknown; it is never silently scored as favourable.