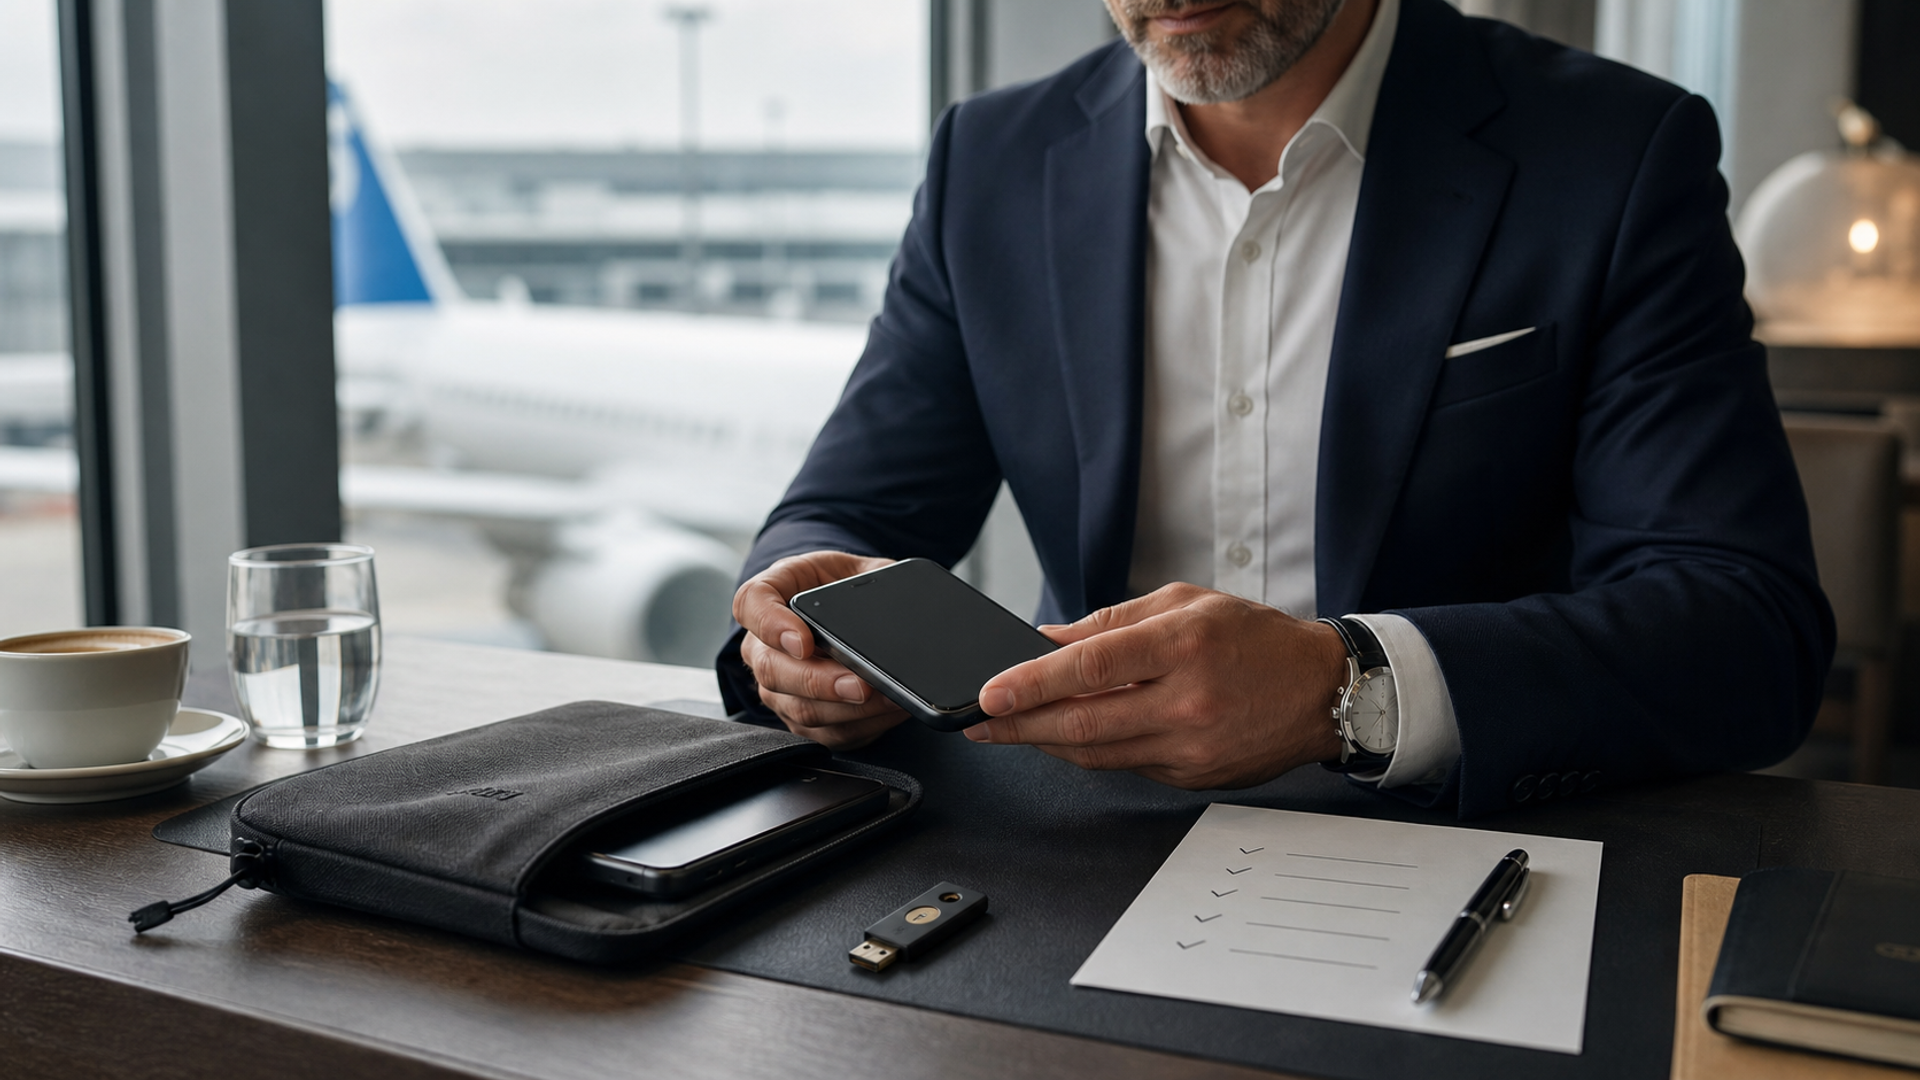
The most secure travel phone is not necessarily a special handset. It is the device that contains only the data and access the traveller needs, remains supported and manageable, and has a rehearsed recovery path. For an ordinary low-risk trip, a fully updated primary phone may be appropriate. For a sensitive negotiation or destination with elevated theft, inspection or targeting risk, a dedicated travel device can reduce what one incident exposes.
The objective is data minimisation, not theatre. A blank “burner” bought at the airport can create more risk if it is unsupported, linked to an unmanaged account or loaded hastily over public Wi-Fi. A carefully provisioned travel phone can be valuable because the organisation decides what is absent before departure.
Choose the architecture by exposure
| Option | Best fit | Main strength | Main weakness | Required control |
|---|---|---|---|---|
| Updated primary phone | Routine travel, low sensitivity, strong existing management | Familiar, complete and less likely to cause workarounds | Carries the owner’s broadest history and recovery access | Reduce local data and review accounts before travel |
| Primary phone with managed work profile | Frequent travel with separable business data | Selective policy and potential business-data wipe | Personal side may still reveal contacts, location and accounts | Enforce data-sharing boundaries and test selective removal |
| Dedicated travel phone | Sensitive itinerary, high-value role, narrow task set | Limits stored data and account reach | Extra provisioning, training and post-trip process | Build from a trusted source and keep functionally sufficient |
| Two-device setup | Continuity-critical journey | Separates identities or provides backup | More items to protect and reconcile | Do not co-locate every credential and backup |
Step 1: classify the trip, not the person
“Executive” is too broad a threat model. Classify the journey across five dimensions:
Information: upcoming transaction, client identities, board papers, product plans or regulated data.
Destination: theft level, connectivity, local rules and likelihood of device inspection.
Role visibility: whether the traveller or organisation is a likely target.
Access need: which systems must be available and which can wait.
Consequence: what an attacker could do with the device, session or recovery channel.
Score each low, medium or high. A public conference in a familiar city may justify the primary device. A confidential negotiation with privileged email and signing authority may justify a dedicated route. Legal requirements vary by jurisdiction; involve qualified legal and security teams where device inspection, data transfer or communications restrictions are material.
Step 2: minimise four layers of data
Deleting a few files is not enough. Map four layers:
| Layer | Examples | Minimisation action |
|---|---|---|
| Local content | Downloads, message history, photos, offline documents | Remove unneeded data and clear offline caches |
| Account reach | Email, cloud drives, CRM, finance, password manager | Sign in only to required accounts or limit scopes |
| Recovery power | SMS number, authenticator, recovery email, passkeys | Avoid making one travel phone the only recovery root |
| Relationship metadata | Contacts, calendar, call history, locations | Sync a minimal set or use an approved travel directory |
The US State Department’s current communication-abroad guidance recommends updating devices, planning SIM or eSIM access, protecting against theft and carrying backup contacts. The NSA’s mobile-device travel guidance goes further for higher-risk contexts, including dedicated devices with limited contacts and email. Apply such guidance proportionately and under your organisation’s policy.
Step 3: make the travel phone useful enough
Over-restriction produces shadow IT. If the travel device cannot show a boarding pass, join a critical call or complete strong authentication, the owner will forward documents to a personal account or carry the primary phone anyway.
Define the minimum viable travel kit:
itinerary and emergency contacts;
approved messaging and calling;
maps and translation needed offline;
one managed email route if required;
corporate VPN or zero-trust access where policy requires;
passwordless or hardware-backed authentication;
remote lock and selective wipe;
current updates and a known support period;
a compliant charging kit.
Download only the documents needed for the next stage of the trip. Use expiring, view-only access where the business platform supports it.
Step 4: separate authentication from the phone
If the phone stores the password, receives the second factor and controls the recovery email, its loss can collapse the entire account boundary.
Use a layered plan. Keep a hardware security key in a separate physical location where supported, plus a documented recovery route controlled by the organisation. Avoid carrying the only two keys in the same phone case. Confirm that hotel, airline and banking workflows will not force an inaccessible SMS number.
Our passkey, authenticator and hardware-key travel plan provides a role-based matrix. Test authentication before leaving the office and again on the destination connectivity route without executing a sensitive transaction.
Step 5: manage connectivity deliberately
Prefer known cellular service for sensitive routine use when available. Hotel and airport Wi-Fi can be necessary, but treat the network as untrusted and rely on modern encrypted services, managed configurations and the organisation’s approved access architecture. A VPN can protect traffic on the local network; it cannot make a compromised phone trustworthy.
Turn off automatic Wi-Fi joins and unused radios. Carry a power-only adapter or your own charger rather than connecting to an unknown computer or shared data port. For a detailed network choice, use our hotel Wi-Fi, hotspot and travel-router guide.
Do not install a surprise “required” application from a link or unofficial store. Verify government, conference and airline apps through their official channels and remove them after the trip if no longer needed.
The pre-travel provisioning checklist
Complete this at least one working day before departure:
| Control | Pass evidence |
|---|---|
| Device provenance | Purchased and enrolled through an approved route |
| Support | Current patch and support window verified |
| Passcode and biometrics | Strong passcode; public shoulder-surfing risk addressed |
| Accounts | Only required accounts and scopes present |
| Data | Local downloads and message history minimised |
| Authentication | Primary and backup factors tested separately |
| Connectivity | Roaming/eSIM and trusted access path confirmed |
| Incident response | Remote lock, carrier and security contacts accessible elsewhere |
| Backup | Required data recoverable without restoring excess history |
| Owner rehearsal | Traveller can report, lock and continue work from backup |
Record the device serial, SIM/eSIM details and management state in the secure asset system—not on a loose sheet inside the same bag.
During travel: protect the session, not only the hardware
Maintain physical control. Use privacy-aware seating for confidential work and reduce lock timeout. Hide sensitive notification previews. Do not lend the unlocked phone for directions or photographs.
If an official or venue requires temporary surrender, follow the organisation’s legal and security procedure. Do not argue based on an internet checklist. Record the time and circumstances as soon as safely possible, then treat the device according to the incident plan.
If the phone is lost, use a trusted separate device to lock it, notify the carrier and security team, revoke high-value sessions and preserve evidence. Do not repeatedly call it if that delays containment.
Post-travel: close the temporary trust window
A travel device should not drift into permanent use with stale credentials. On return:
Report any loss of control, unusual prompts, unexpected battery or configuration change.
Let the security team inspect or re-provision according to policy.
Revoke travel-only eSIMs, sessions and temporary access.
Transfer required business records through the approved route.
Remove local data and reset or store the device under asset control.
Review what the traveller could not do; improve the next profile rather than encouraging a workaround.
Verdict
Use the primary phone for routine travel when it is supported, managed and carrying no more sensitive access than the trip justifies. Use a managed profile when business data can be cleanly separated and selectively removed. Use a dedicated travel phone when the trip’s information, destination or consequence makes broad personal and corporate history an unnecessary exposure.
The winning design is the least data and authority that still lets the traveller work safely. Security improves when absence is engineered before departure, not when deletion begins after an incident.
Run a short debrief after every journey. A failed login, missing contact or unnecessary permission is evidence for the next provisioning template, not a reason to abandon minimisation.


![Top 10 Tourbillon Watches for Men [2026 Latest]](https://cdn.sanity.io/images/e0gp1l2g/production/8cb6bc45133cf9453382fc7d074465af588bb610-1800x1080.webp?w=800&h=450&q=82&auto=format&fit=crop)