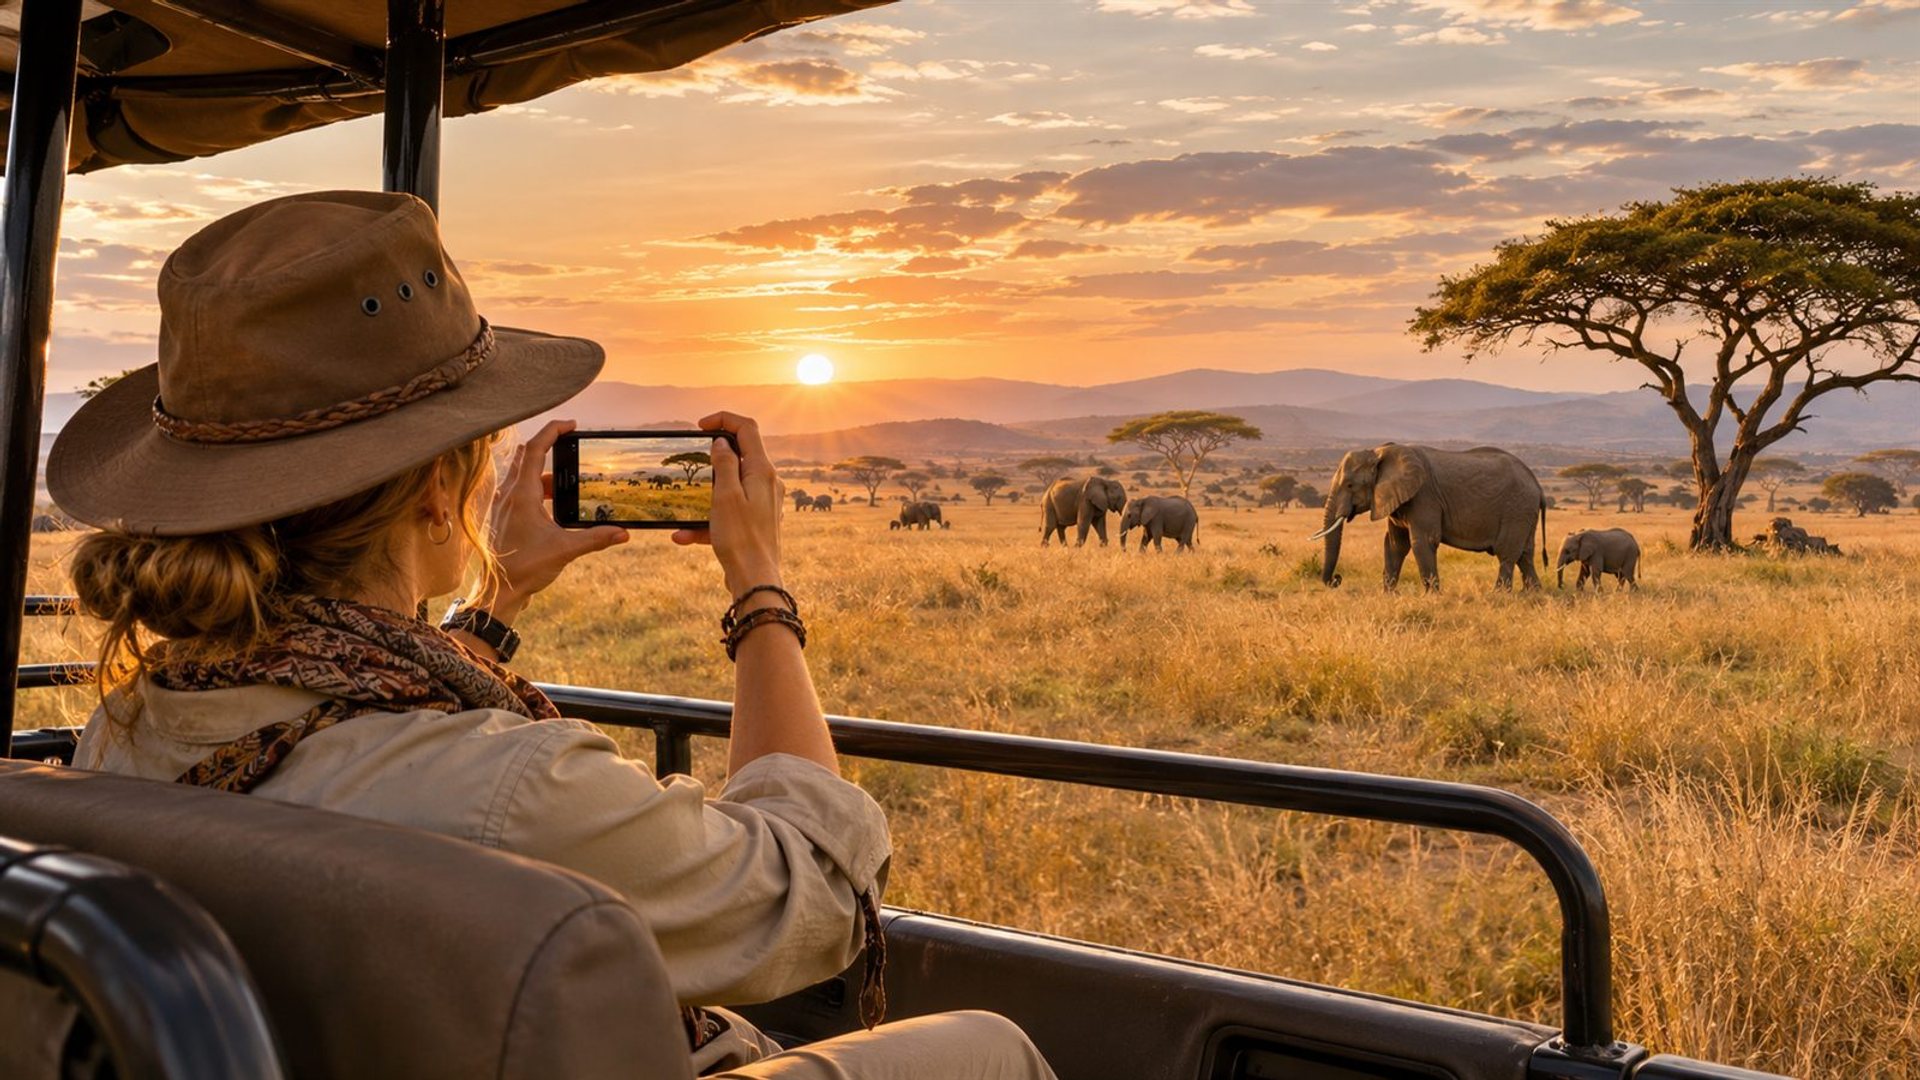
To photograph wildlife on safari with a smartphone, begin with distance and behaviour, then work on the image. Stay where the guide permits, use the available light, brace the phone, tap to focus on the animal and make a wider environmental portrait when the subject is too far away for clean detail. A photograph is never a reason to approach, distract or block an animal.
A phone can record the feeling of a sighting: dust around a herd, an animal against a tree line or a quiet moment from the vehicle. It cannot make a distant subject physically close simply by enlarging pixels. The method below helps you return with stronger pictures while respecting the guide, other passengers and wildlife.
What should you do before the sighting?
Prepare the phone while the vehicle is stationary. Clean the lens with a soft cloth, check storage and battery, open the camera and decide how to trigger the shutter without fumbling. Turn off camera sounds if local rules and device settings allow; a quiet vehicle is better for everyone. Ask the guide where you may sit or stand and whether windows or roof openings may be used.
Set a useful default: ordinary photo mode, an appropriate aspect ratio and the best native lens for the expected distance. Know how to switch quickly between the main and telephoto cameras if the device has both. Do not spend the first seconds of a rare sighting searching through menus. Test exposure control and burst mode before the drive, when the scene is calm.
How far away should you stay?
Follow the safari operator's instructions and local wildlife rules. Never leave the vehicle, request an unsafe approach or ask a guide to crowd an animal for a photograph. If the animal changes its behaviour because of your presence, the encounter is already too intrusive. The US National Park Service's wildlife photography advice recommends distance, a telephoto view and using a vehicle as a protective viewing position where appropriate.
Different reserves and species require different distances. A number taken from another park is not permission to approach here. The guide understands the route, the animals and the current conditions. Your composition can adapt to their judgement. A lion small in a broad landscape may still make a more honest and memorable image than a shaky, heavily cropped imitation of a close-up.
Do not bait, call, use flash near sensitive animals or block a route to force a reaction. National Park Service wildlife-viewing guidance stresses that wildlife should be observed without disturbing it. The same principle makes the photograph better: natural behaviour is often more compelling than a startled animal looking at a vehicle.
Which light gives a phone the best chance?
Early and late daylight often gives a softer angle and more shape to fur, feathers and the surrounding landscape. The National Park Service also notes dawn and dusk as active wildlife periods. Low light is a trade-off: the scene may be beautiful, but a phone may choose a slower shutter or stronger noise reduction. Brace the phone and take several frames when an animal is still.
At midday, look for side light, shade and a clean background rather than fighting overhead brightness. Tap the subject and adjust exposure if pale sky makes the animal a silhouette. A silhouette can be intentional, especially with a clear outline, but accidental underexposure loses detail. Review one frame rather than relying on the tiny live preview.
Do not use a bright phone light to illuminate wildlife at night. Follow the guide's lighting rules and leave nocturnal shooting to permitted equipment and methods. If the phone cannot make a usable image without disturbing the animal, enjoy the sighting and put it away.
How do you keep a smartphone steady in a vehicle?
Touch your elbows to your body, hold the phone with both hands and exhale gently as you press the shutter. The National Park Service recommends bracing elbows against the ribcage or another stable surface. A stationary vehicle rail may help, but avoid resting the lens or phone directly on a vibrating engine panel. Ask before leaning on a shared opening or obstructing another passenger's view.
Wait for the vehicle to stop. Even optical stabilisation cannot fully compensate for a moving vehicle, a moving animal and a long equivalent focal length at the same time. If the subject is walking, take short sequences and select the moment with a clear head and visible eye. A burst may increase your choice, but it also fills storage quickly; review and delete only after the sighting.
Should you use optical or digital zoom?
Prefer a dedicated optical camera at its intended focal length when available. Digital zoom often enlarges and processes the existing image rather than collecting more distant detail. The result may look crisp on the phone screen but soften when printed or viewed large. Compare a telephoto frame with a wider main-camera frame and keep whichever holds more useful detail and context.
Do not chase an extreme zoom number. At high magnification, small hand movements become obvious and atmospheric haze can erase detail even with good optics. Photograph the animal in its habitat when the distance is beyond the phone's reach. A herd crossing an open plain, an elephant beneath a large sky or a bird at a waterhole can tell the story without filling the frame.
VERTU's official Metavertu Max overview describes a 35mm main perspective and an 80mm telephoto lens. The Agent Q overview describes a camera centred on 35mm and true optical zoom. Those attributes may offer framing choices, but neither page establishes wildlife-range performance or replaces a dedicated long lens. Use the actual camera modes on the device and judge the result at full size.
How do you focus on a moving animal?
Tap the eye or head in the preview when the subject is large enough. A sharp eye gives a portrait its point of connection. If grass or a branch repeatedly steals focus, move the framing slightly or wait for the animal to enter a clear gap. Do not ask the guide to move closer because autofocus is struggling. Distance and foreground clutter are part of the scene.
Take a sequence as the animal pauses or turns. The best frame may be the moment after a movement, when the body is still and the eye visible. If continuous focus is available, test it in advance; names and behaviour vary by device. A short burst can catch an expression, but do not spray hundreds of frames without checking whether exposure and focus are working.
How can you compose a stronger safari photograph?
Include a clear relationship between subject and place. Leave space in the direction an animal is looking or moving. Use a road, branch or riverbank to lead the eye, but avoid placing the animal behind a distracting vehicle part. The National Park Service suggests placing the horizon near the lower third and the animal near an intersection of thirds as one possible composition; treat that as a starting point, not a rule.
Make several types of frame: a wide view that establishes habitat, a medium view that shows behaviour and a closer view only when distance and optics allow. The wide frame can carry information a close crop loses: scale, weather, other animals and the human vantage point. A respectful photo essay often tells the story better than a single maximal zoom image.
How should you protect and archive the images?
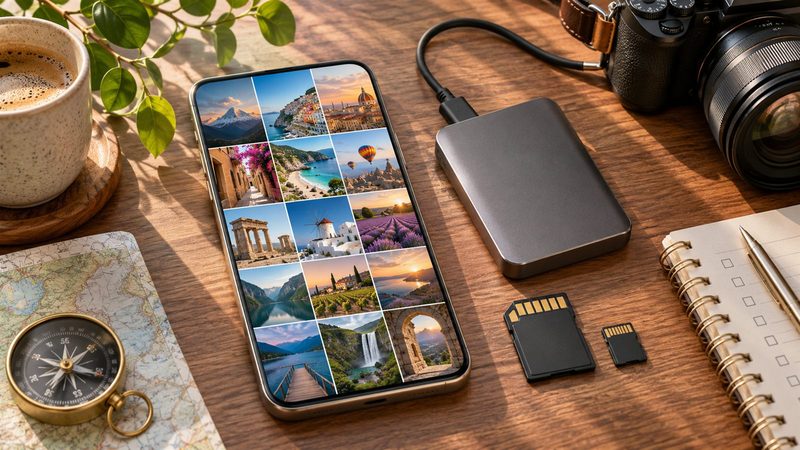
At the end of the drive, review for obvious blur and keep the stronger variants. Do not delete every imperfect frame while the encounter is still fresh; a wider image may become valuable in a sequence. Back up the originals when you have a reliable connection or storage device. Keep a copy separate from the phone before a long journey continues.
Record the date, reserve and species only when you are confident. Ask the guide if identification is uncertain. Avoid turning a guess into a confident caption. If the reserve restricts geotagging or sharing, follow that policy. The archive should preserve the encounter without creating a risk to the animal or the people working to protect it.
Frequently asked questions
Can a smartphone replace a telephoto camera on safari?
No, not for every sighting. A phone can make strong environmental images and some close views, but distant animals may remain small even with its telephoto mode. Stay at the safe distance set by the guide and photograph the wider scene when the phone reaches its optical limit.
Should I use flash for wildlife?
Follow the guide's and reserve's rules, and avoid using a phone light to disturb an animal. Flash often has little useful reach at safari distances. If ambient light is insufficient for a respectful image, leave the camera down and observe.
What if the animal is behind grass?
Wait for a clear gap or change the composition from your permitted position. Tap the subject to focus if it is visible. Do not ask the vehicle to crowd wildlife simply to remove foreground grass; the vegetation can also convey habitat.
Is digital zoom better than cropping later?
Usually the useful question is which option preserves more real detail. Try the phone's optical camera first, then compare a moderate digital zoom with a crop from the original at full size. Avoid assuming an extreme zoom label means the device captured more optical information.