Key Takeaways
- Open Quick Settings, choose Screen record, set audio and touch indicators, then start after the countdown.
- Stop through the recorder notification or your phone's on-screen controls and check the saved file before sharing.
- Menu names and sound choices differ between Android devices and software versions.
- Short, focused clips are easier to review and keep file sizes manageable.
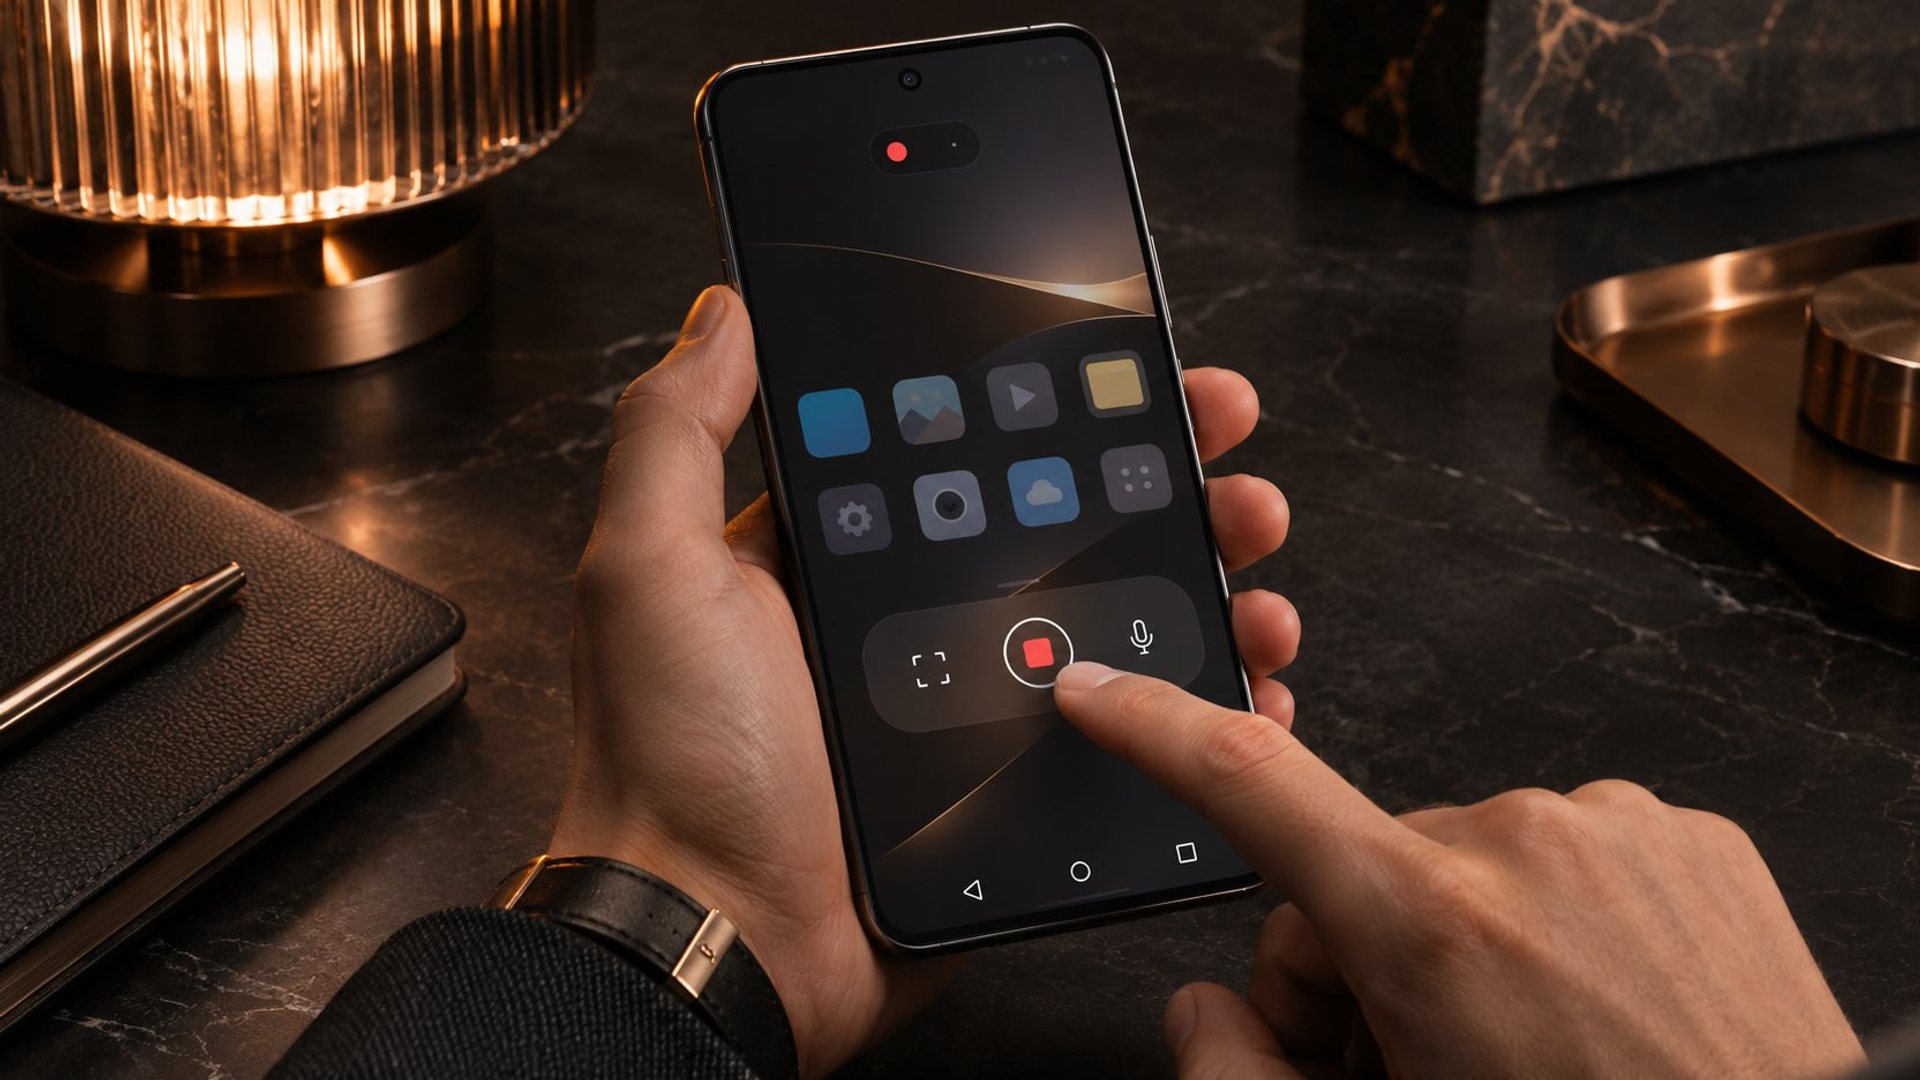
For Android screen recording, start by swipe down twice to open Quick Settings, tap Screen record, choose whether to include audio and visible touches, and tap Start. After the countdown, perform the steps you want to show. Stop recording from the screen recorder notification or the recorder controls, then open the saved video and check it before sending it. The exact buttons can differ by phone and Android version.
Where is the screen recorder on Android?
Google's Android Help instructions begin with two swipes down from the top of the display. Google's guidance notes that, on Pixel phones, some of these screen-recording steps require Android 11 or later; menu availability on other devices depends on the manufacturer and software version. Look for the Screen record tile in Quick Settings. It may be on another page of tiles. If it is absent, use the Edit control to add it to the panel. This is worth doing before a meeting or a troubleshooting call: searching for a control while a colleague waits can make a simple demonstration unnecessarily hurried.
On a Samsung Galaxy device, the feature is called Screen recorder in the Quick panel. Samsung's US support guide also explains where to change sound, video quality, touch indicators and, on supported models, the saving location. Do not assume that a Samsung menu or option exists on every Android handset. Manufacturer software changes the labels, location and available controls.
If you cannot find any built-in recorder, check the device's current support documentation and software update status. Avoid installing the first recording app you see merely to replicate a screenshot of someone else's menu. A third-party recorder may need broad access to screen content and audio, so its privacy terms and permissions deserve scrutiny.
Choose audio before the countdown
What the viewer needs to hear determines the setting. A silent recording is often the cleanest option for a visual walkthrough. Device or media audio can help when demonstrating a sound setting or a video playback problem. Microphone input is useful for narration, although it can also pick up conversation and room noise. On supported Samsung devices, the sound choices include None, Media, and Media and mic; other Android interfaces may present them differently.
Make a ten-second test rather than assuming the selected source worked. Play it back with headphones and listen for missing audio, doubled speech or background noise. If the sound matters, test the specific app you plan to record. Some apps and protected content may restrict capture, and a recording that looks fine on screen can contain silence or a blanked section. The recorder is a documentation tool, not a way to override an application's content protections.
For a spoken walkthrough, prepare a few short prompts rather than reading a long script while navigating. Say what the viewer is seeing, pause before important taps and leave a moment after each result appears. This usually produces a more useful clip than a fast sequence of gestures followed by an explanation.
Decide whether to show touches
Android can display touch points in the recording setup. Turn this on when the recipient must follow an exact path through settings or an app. A visible tap marker makes it easier to distinguish a deliberate selection from a screen that changed on its own. Turn it off for a presentation where the interface is already clear, or when touch dots would obscure small controls.
Touch indicators do not replace narration or framing. Before recording, return to the screen where the process begins, close unrelated apps and decide which steps are essential. If the path is long, divide it into two clips. A viewer should not have to search through a minute of swiping to find the action they asked about.
Start, stop and find the saved recording
Tap Start and wait for the countdown to finish before beginning the demonstration. Follow your planned steps at a pace a viewer can understand. To finish, swipe down and use the screen recorder notification, as described by Android Help. Some phones also show a floating or top-edge toolbar with a stop control. Check the saved video immediately; it is much easier to repeat a short clip while the exact steps are still fresh.
Google directs Android users to the Photos app, then Collections, On this device and Movies to find recordings. A Galaxy device may also offer a setting for where screen recordings are saved. If you cannot see the file in the expected gallery, look in the phone's file manager for a screen-recording folder and confirm the storage destination in the recorder settings. A newly saved clip may take a moment to appear in a gallery.
Rename the file before sharing when the recording is part of a support case or a team handover. A name such as “calendar-sync-settings-2026-11-06” is easier to identify than an automatically generated timestamp. Keep a local copy until the recipient confirms the video opens and the issue is understood.
Control file size without hiding the problem
A longer recording and a higher video quality setting generally create a larger file. Start with the shortest sequence that reproduces the issue. End the clip as soon as the result is visible, and record a separate clip for a different question. If your phone provides a video-quality control, a lower resolution can reduce size, but small text may become difficult to read. Make a short test at the intended quality and inspect it on another screen before committing to a longer capture.
Trim the beginning and end if they contain only navigation or a wait for an app to load. Keep the original if the exact timing matters to a support investigation. Compression is useful for sending, but it can soften text or hide a subtle interface defect. When an upload limit is strict, first remove unnecessary seconds, then consider quality settings. Do not sacrifice the very detail the viewer needs to see.
Storage is also part of the decision. Recording a long session can consume more space than expected, particularly when you already have photos and offline media on the phone. Check available storage before recording and delete only clips you have safely reviewed or backed up. For a new device, our first 48 hours phone setup checklist covers the broader habit of verifying storage and backup before relying on a device for important work.
Protect private information before you share
A screen recording can reveal account names, messages, notifications, location, payment details and the people in a contact list. Before starting, switch on a suitable notification-silencing mode, close private tabs and use a demonstration account where practical. After stopping, watch the entire file from beginning to end. Check the notification shade, app switcher and any moment where a password manager or verification code appeared.
Cropping the frame or blurring a section may help, but do not assume a quick edit removed every sensitive detail. If you accidentally captured a secret or a private message, it is safer to make a fresh recording than to send a compromised file. Share through the channel appropriate to the recipient and the content. For more general device guides, use the VERTU guides library.
For VERTU owners, the practical value here is the ability to document an app flow clearly when seeking help or reviewing a setup. This article does not assume that a VERTU assistant starts or controls Android's screen recorder. Use the recorder and options actually available on your specific phone.
Frequently Asked Questions
Can I record internal audio on Android?
Often, yes, if your recorder offers device or media audio. Available choices differ by phone, and some apps may block capture. Test the exact app and play back a short clip before recording a full demonstration.
Why is there no Screen record tile?
It may be on another Quick Settings page or available under Edit. If it is not offered there, check the device maker's instructions and software version rather than assuming every Android menu is identical.
Where does an Android screen recording go?
Android Help points to Photos, Collections, On this device and Movies. Your manufacturer may provide a different gallery view or storage option; check the file manager and recorder settings if it does not appear there.
How do I make the recording smaller?
Record only the essential steps, trim idle time and, where available, test a lower video-quality setting. Review readability before sending, especially when the clip contains small text.
Why is part of my video black or silent?
The app or content may restrict recording, or the audio source may not match what you intended to capture. Make a short test in the same app and consult its support guidance. Do not treat capture restrictions as a fault in every case.
Conclusion
Android screen recording works best when you make three decisions before tapping Start: what to show, what to hear and who will receive the file. Locate the tile, test audio and touches, record a short purposeful sequence, then inspect the result for clarity and privacy. That routine is more reliable than assuming a long recording can be repaired after the fact.